For the last few years, this website has been some kind of Rails application that I've built and hosted on AWS, or some other service. Last year I wrote a series of blog posts on how I moved my website and other projects to run entirely on spot instances.
Recently I've not had a lot of time for blog post writing, or for playing the role of sys-admin and maintaining everything I've setup. For a while, I've been wanting to redesign the website, and part of me has been contemplating moving to something more low maintenance such as Ghost.
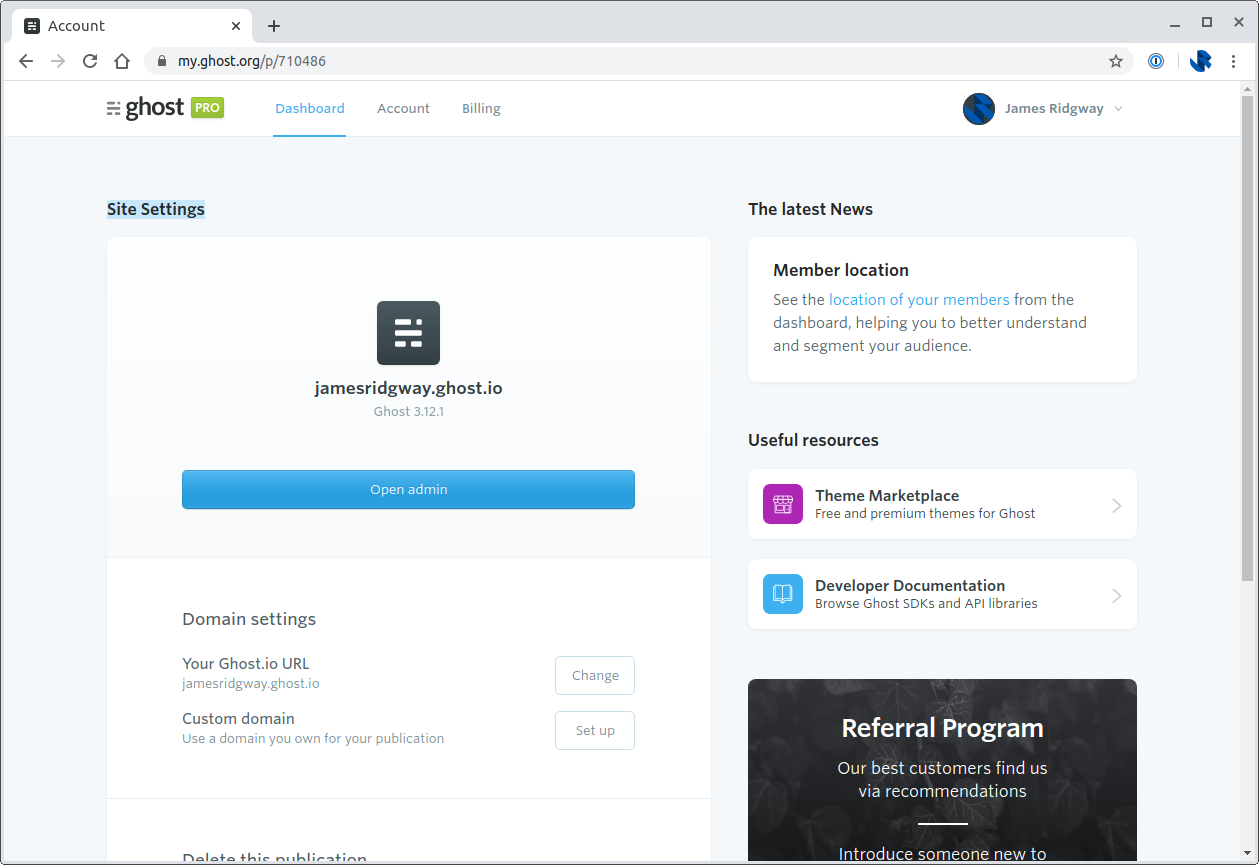
I've finally bitten the bullet and moved to Ghost(Pro), served up via Cloudflare.

Migrating Content
Migrating content out of my Rails-based blog was fairly straightforward as all of the content was already in markdown, which Ghost supports and there are a number of tools built into Ghost that can allow you to migrate content with not a lot of effort.
By following the Ghost documentation and using a few simple scripts I was able to produce a JSON file containing all of the content for my website, and another describing what redirects would be needed to ensure I didn't break any URLs.
Picking and Deploying a Theme
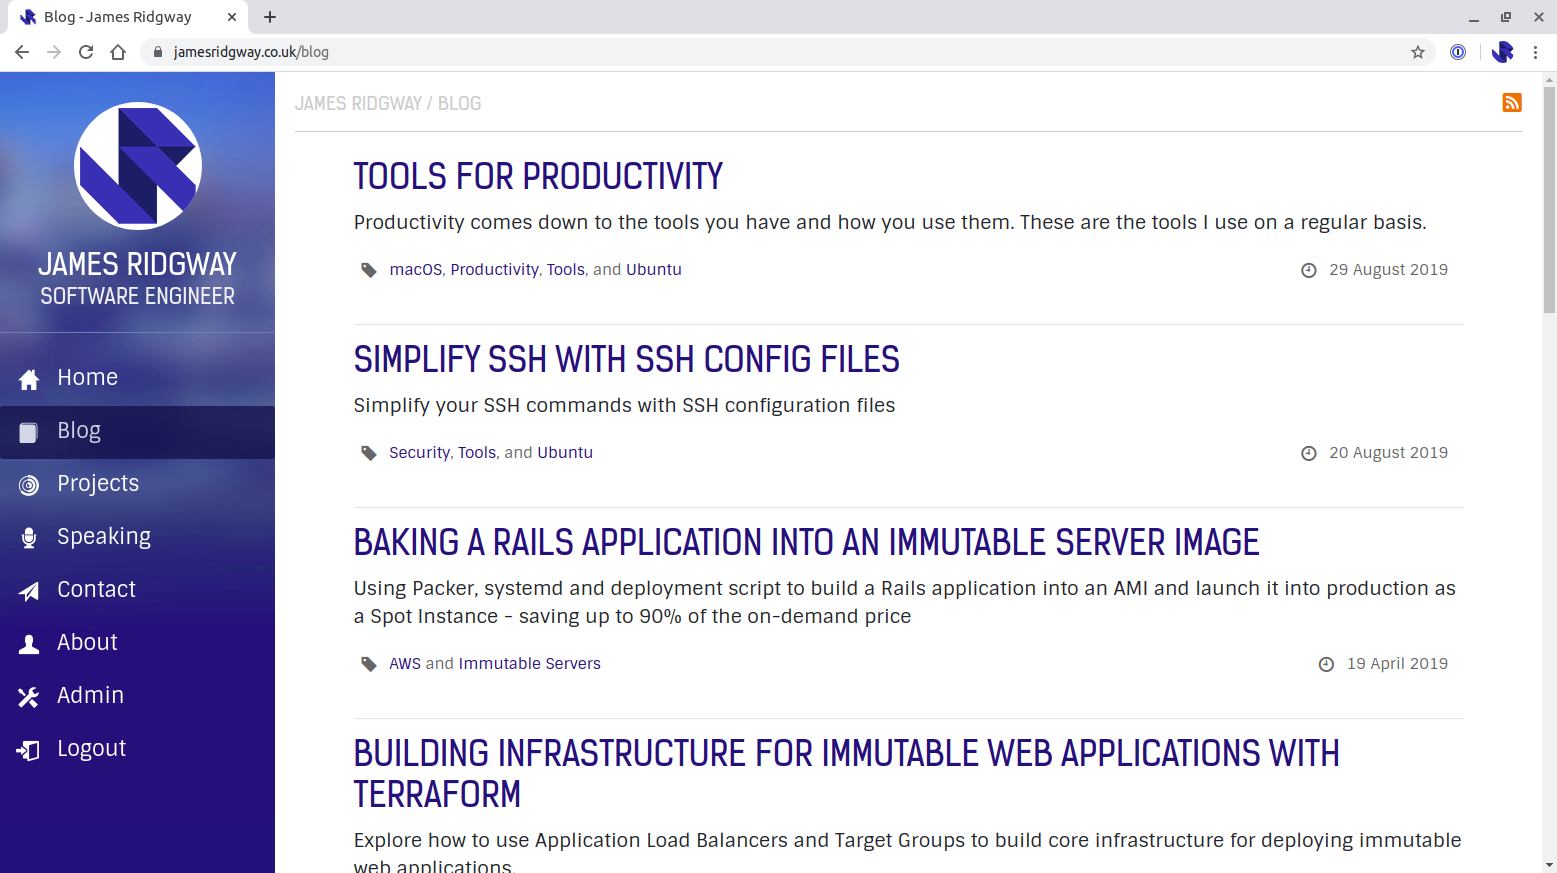
Out of the box Ghost looks and behaves great, but getting your hands on a template (either free or paid) will help make your blog feel like your own thing. I've had a custom theme built that I host under my GitHub account.
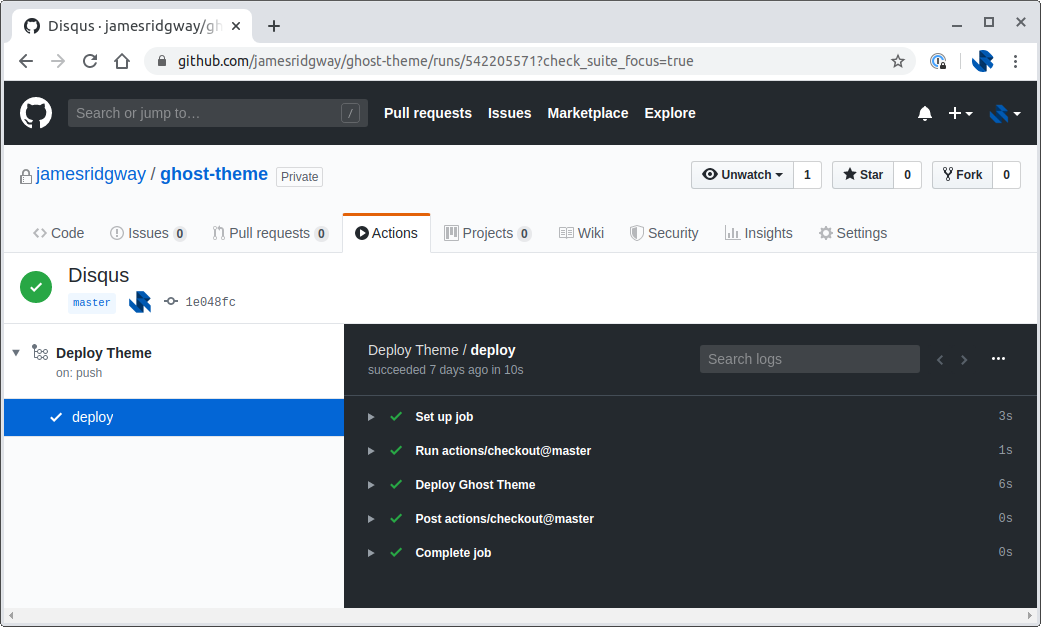
I adopted Ghost because I wanted to keep things simple moving forwards, so in that spirit I've setup GitHub Actions to automatically upload the theme whenever it's changed.
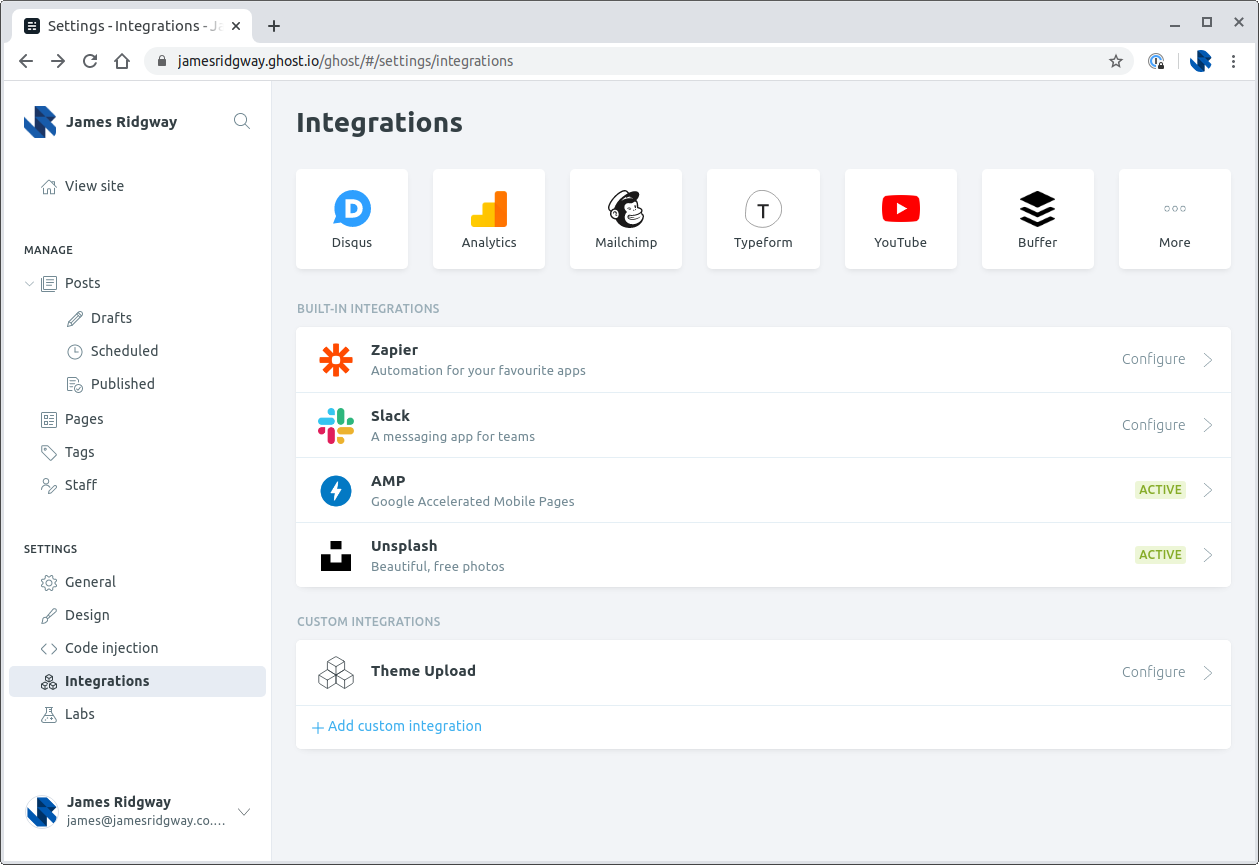
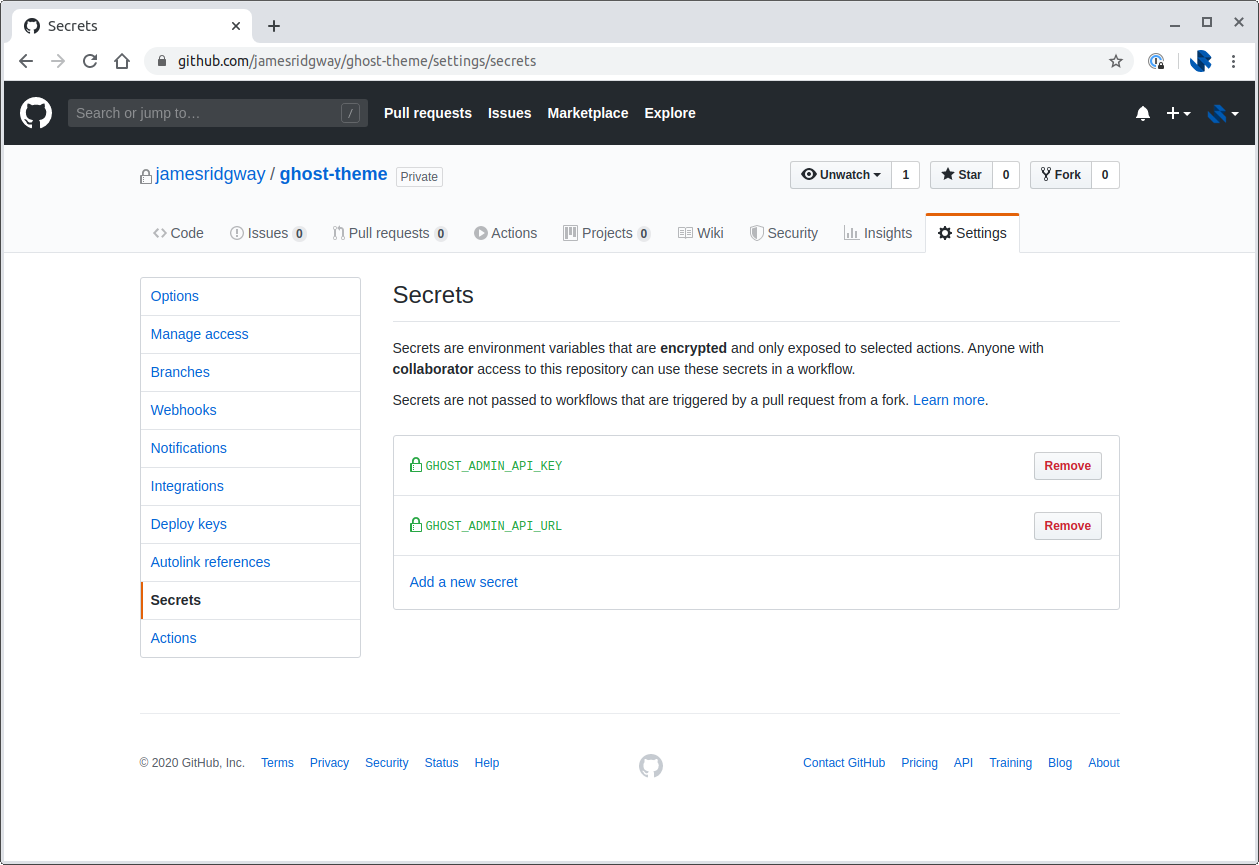
From the admin panel of Ghost I created a Custom Integration that gives me an API key that I can use with the deploy-ghost-theme GitHub Action.
Within your themes repository, create a GitHub Actions workflow file: .github/workflows/deploy-theme.yml
name: Deploy Theme
on:
  push:
    branches:
      - master
jobs:
  deploy:
    runs-on: ubuntu-18.04
    steps:
      - uses: actions/checkout@master
      - name: Deploy Ghost Theme
        uses: TryGhost/action-deploy-theme@v1.2.0
        with:
          api-url: ${{ secrets.GHOST_ADMIN_API_URL }}
api-key: ${{ secrets.GHOST_ADMIN_API_KEY }} In your repository settings, you can set the secret values, that way you won't be committing secrets to the repository.
Using GitHub Actions like this means that whenever I want to make a tweak or change to my theme, I just need to push the change. GitHub will take care of building and deploying the theme to Ghost.
Using a Cloudflare Worker to Maintain Control
Ghost(Pro) supports custom domains. The setup process for this involves setting up a CNAME record.
The problem I had with using a CNAME record for www.jamesridgway.co.uk is that I'd lose an element of control over how requests to www.jamesridgway.co.uk are managed. I also wanted to make sure that my Ghost setup made good use of security headers.
Instead of using a CNAME record, and after reading Scott Helme's article on using a Cloudflare Worker to serve up Ghost(Pro) traffic, I decided to do something very similar.
Cloudflare Workers execute JavaScript on edge nodes in the Cloudfare network in response to requests made against your domain.
In my implementation I proxy traffic from ghost.io, but I also ensure certain security headers are also set. You can view the full implementation in my website-worker repository (this also deploys via GitHub Actions).
Once you have a Worker that does what you need it to do, you can configure it to work against a specific route. In my case, my worker is invoked for the following route definition:
www.jamesridgway.co.uk/*Once you have a worker, you need to make sure that some kind of DNS record exists for the request to be routed to your worker.
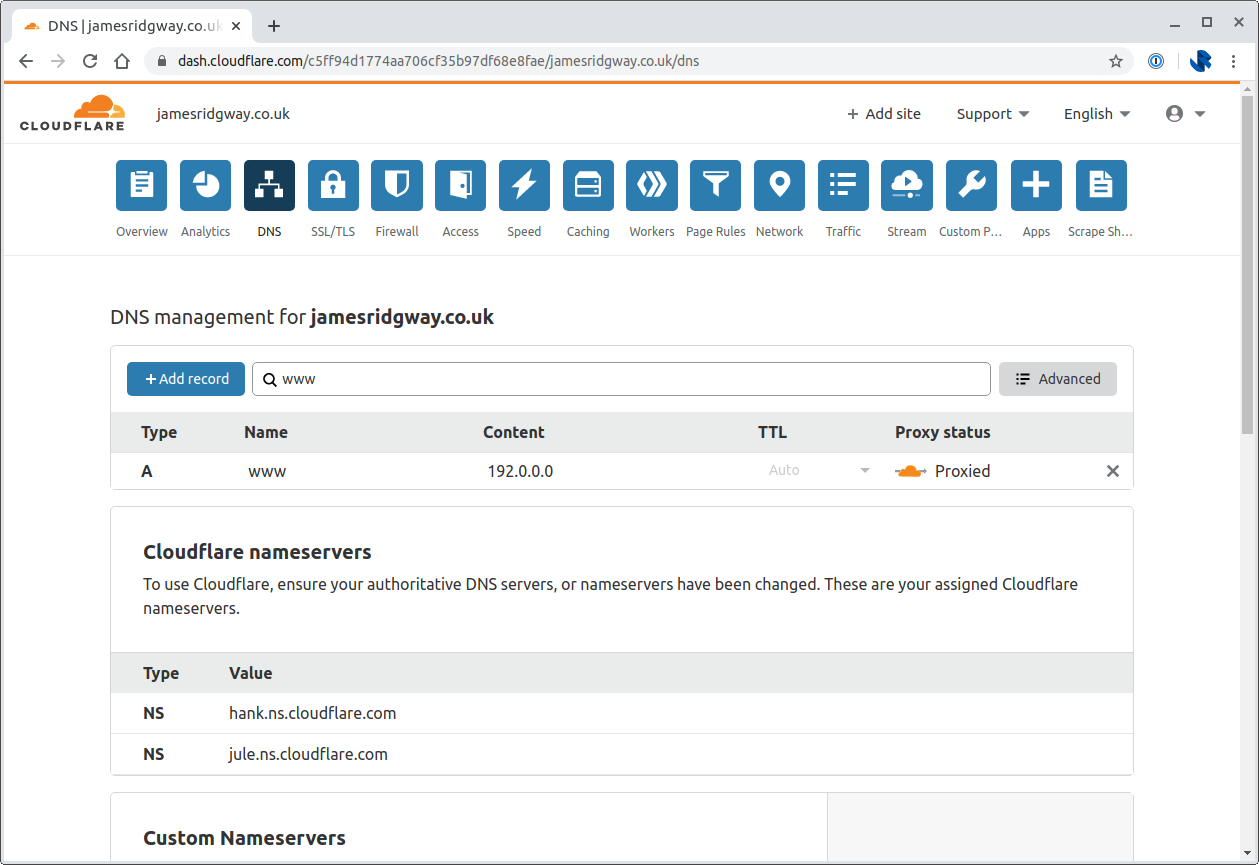
In this instance I have an A record resolving www to 192.0.0.0. The IP address here doesn't matter, there just needs to be an entry in the Cloudflare DNS settings for it to route the request to the given worker.
The End Result
Getting all of this setup took a few hours out of a Saturday afternoon, and it was time well spent.
I've gone from having a Rails website hosted on AWS Spot Instances, which whilst it was cool, cheap and allowed me to really learn the best way to operate spot instances I simply didn't have the time to maintain that setup.
I'm now running on Ghost(Pro) with Cloudflare and I don't need to play the role of sys-admin anymore. It's Ghost's job to ensure that my Ghost installation is running the latest version, and is security patched, etc...
So hopefully, moving forwards, I can spend more time writing blog posts :)